
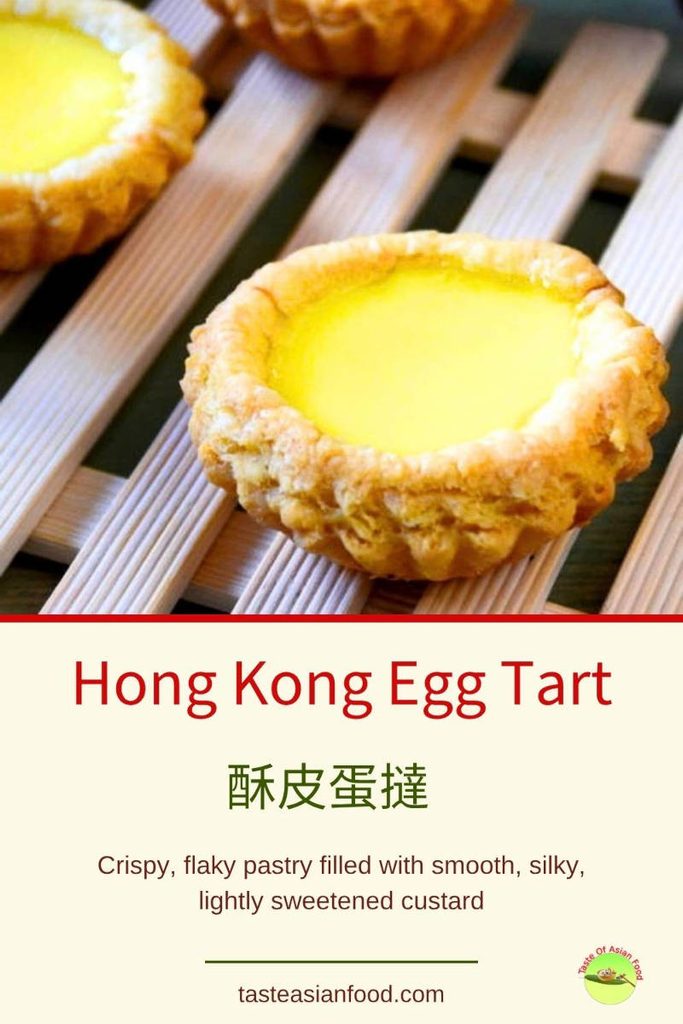
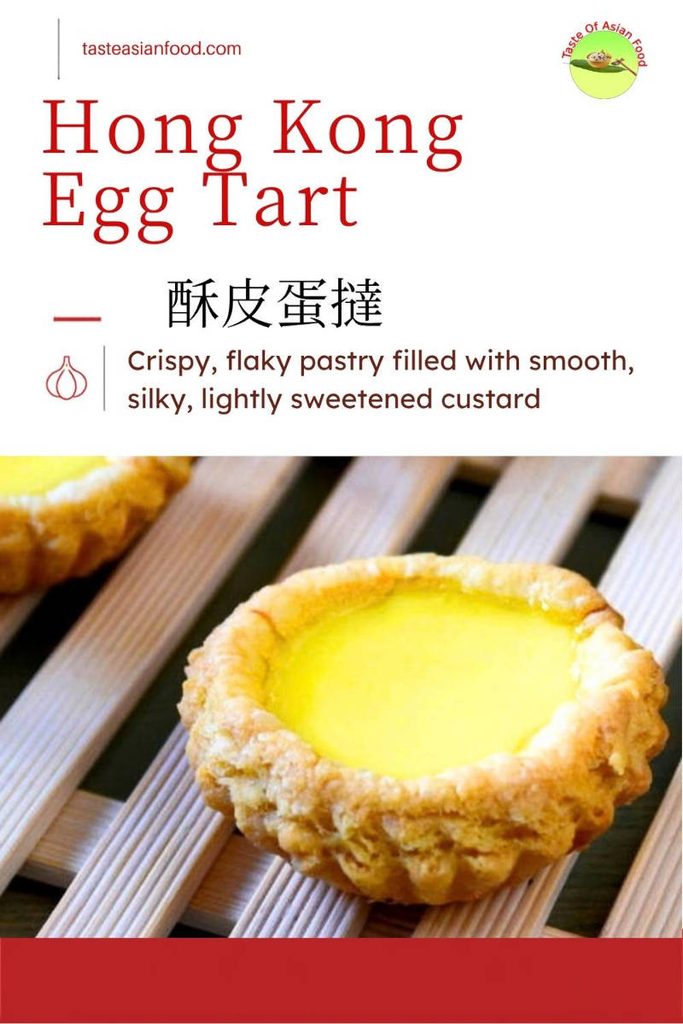
If you enjoy Cantonese dim sum, I’m sure you are familiar with Hong Kong egg tarts. What I like most is the Chinese puff pastry, with its many thin, crispy layers that break apart with every bite. Then comes the smooth, lightly sweetened egg custard.
They are especially good when served warm, straight from the oven, while the pastry is still crisp and the custard is soft.
Making the flaky pastry from scratch takes some time and patience, but I think it is well worth the effort. Based on further research and my earlier experience making egg tarts, I have updated this recipe to use only butter, added milk powder to the water dough, and revised the custard filling.
Content
Note: Click any item to jump straight to that part of the post.
Note: This post may contain affiliate links. Please read my privacy policy for more info. I may receive commissions for purchases made through links in this post. As an Amazon Associate, I earn from qualifying purchases.
Why This Recipe Works
Flaky Chinese puff pastry. The pastry is made with two doughs, which are rolled and folded to create many thin, crispy layers. It has a lighter, flakier texture than the shortcrust pastry used in some Hong Kong bakeries.
Butter instead of lard. Traditional Hong Kong-style egg tart pastry often uses lard for its tender, flaky texture. Since many people do not consume pork, this recipe uses only butter, which adds a rich, buttery flavor while still producing a flaky pastry.
Smooth egg custard. The filling is made with eggs, milk, water, and sugar. Straining the mixture removes strands of egg white and any lumps, helping to produce a smooth, silky custard.
Make-ahead convenience. You can prepare the pastry in advance and refrigerate it between folding stages. Any extra pastry can also be frozen for another batch.
Ingredients Breakdown
- Hong Kong egg tarts are made with two types of dough and an egg custard filling. Here is what each ingredient does.
- All-purpose flour. Used in both the water dough and oil dough. It provides structure and elasticity to the water dough, while in the oil dough, it combines with butter to form a pliable mixture for lamination.
- Egg for dough. Added to the water dough along with water. It contributes to the dough’s structure and consistency, making it easier to handle during rolling and folding.
- Ice-cold water. Helps keep the water dough cool during mixing, especially when working in a warm kitchen.
- Milk powder. Added to the water dough for a mild dairy flavor.
- Salt for pastry. Seasons the dough and balances the flavor of the butter.
- Unsalted butter. Provides the buttery flavor I like in Hong Kong-style egg tarts. Keep it cool during lamination to prevent it from becoming too soft and leaking through the dough.
- Eggs. The main ingredient in the custard. They help the filling set as it bakes.
- Fresh milk. Adds a mild dairy flavor without making the custard excessively rich.
- Caster sugar. Sweetens the custard and dissolves easily when heated with water.
How to Prepare Everything Before Cooking
Prepare the ingredients.
Weigh the ingredients for the water dough, oil dough, and custard separately. Having everything ready makes the repeated rolling and chilling much easier to manage.
Prepare the equipment.
I use individual egg tart molds measuring approximately 7.5 cm across and 2.5 cm deep.
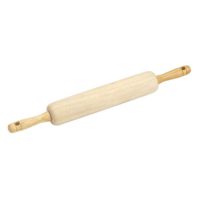
You will also need a rolling pin, a silicone pastry mat, parchment paper or plastic wrap, a pastry cutter, and a fine-mesh strainer.
I find a non-slip silicone pastry mat particularly convenient. I can roll the dough with very little flour, and cleaning up afterward is much easier.
Plan the chilling time.
Chinese puff pastry cannot be rushed. The dough needs to rest between folds, especially when the butter begins to soften.
You can also refrigerate the pastry overnight and continue the following day.
Prepare the custard later.
I recommend making the egg custard while the shaped pastry shells are chilling. Since the sugar syrup must cool completely before mixing it with the eggs, remember to allow enough time for this.
The complete ingredient quantities and measurements are provided in the recipe card below.
Step-by-Step Cooking Instructions
Step 1: Prepare the Water Dough and Oil Dough
Start with the water dough.
Combine the all-purpose flour, milk powder, and salt. Add the beaten egg and ice-cold water, then mix until a rough dough forms.
Knead until the dough becomes smooth and moderately elastic. It should stretch gently without tearing immediately, but there is no need to knead it as extensively as bread dough.
Developing some gluten gives the water dough enough strength to enclose the oil dough and withstand repeated rolling and folding.
Cover the dough and let it rest for about 30 minutes.
Next, prepare the oil dough.
Cut the cold butter into small pieces and combine it with the flour using a food processor or pastry cutter until a cohesive dough forms.
Shape the oil dough into an even square, approximately 18 × 18 cm, between sheets of parchment paper.
Refrigerate until it is cool but still pliable. If the oil dough becomes too hard, it may crack when you roll it during lamination.
Step 2: Enclose the Oil Dough and Laminate the Pastry
Roll the rested water dough into a square approximately 27 × 27 cm, large enough to enclose the oil dough completely.
Place the oil dough diagonally in the center. Fold the four corners of the water dough inward, like closing an envelope, and seal the seams so the oil dough is completely enclosed.
Gently tap the dough with a rolling pin before rolling it into a long rectangle. Use short strokes rather than forcing the dough outward in one movement.
I use two three-folds followed by one four-fold.
First three-fold: Fold one-third of the rectangle toward the center, then fold the opposite third over it, like folding a letter. Wrap and refrigerate for 20–30 minutes.
Second three-fold: Rotate the dough 90 degrees and roll it into another rectangle. Repeat the letter fold, then refrigerate for another 20–30 minutes.
Final four-fold: Rotate the dough again and roll it into a rectangle. Fold both ends toward the center until they meet, then fold the dough in half, like closing a book.
Refrigerate for at least 30 minutes before shaping.
These folds create multiple alternating layers of water dough and oil dough. During baking, moisture in the pastry turns to steam and separates the layers, producing the flaky crust.
The most important thing is not how quickly you finish the folds, but whether the dough remains intact.
Step 3: Roll and Shape the Egg Tart Shells
Roll the laminated pastry evenly to approximately 3 mm thick.
I find this thickness suitable for egg tarts. If the pastry is too thick, there will be less room for custard, while rolling it too thin may cause the layers to tear during shaping.
Cut circles large enough to cover the bottom and sides of your molds, leaving a little extra around the rim. For my 7.5 cm molds, I use circles approximately 11–12 cm in diameter, although the exact size depends on the shape of the molds.
Place each circle into a mold and gently fit it against the bottom and sides. Avoid stretching the pastry or pressing it so firmly that the layers become compressed.
Let the pastry rest briefly before trimming the excess. Use a blunt knife or pastry cutter against the edge of the mold to obtain a neat finish.
Refrigerate the shaped shells for 15–20 minutes.
There is no need to prick the bottom with a fork or blind-bake the pastry. The custard goes directly into the chilled, unbaked shells.
Step 4: Prepare the Egg Custard Filling
Combine the caster sugar and water in a saucepan. Heat gently until the sugar dissolves, then allow the syrup to cool completely.
Do not add hot syrup directly to the eggs, as it may partially cook them and produce small lumps.
Beat the eggs gently until the yolks and whites are combined. Avoid vigorous whisking, which introduces unnecessary air bubbles.
Add the fresh milk and cooled syrup. Stir until evenly combined.
Strain the mixture twice through a fine-mesh sieve.
I find straining particularly useful because it removes any remaining strands of egg white and helps produce a smoother custard.
Let the mixture rest for 10–15 minutes, then remove any foam remaining on the surface.
Pour the custard into the chilled pastry shells until they are approximately 70–80% full. Avoid filling them to the rim because the custard may expand during baking.
Step 5: Bake the Egg Tarts
Preheat a conventional electric oven to 180°C (356°F), using both upper and lower heating elements without the fan.
Place the baking tray on a lower rack to help cook the pastry base without exposing the custard to too much heat from above.
Bake for approximately 25–35 minutes, checking from about 20 minutes onward.
The pastry should be golden and visibly layered, while the custard should be just set. When you gently move the tray, the center should still have a slight wobble rather than being completely firm.
Watch the custard surface carefully. If it rises into a pronounced dome, the heat may be too strong.
Remove the egg tarts from the oven as soon as the pastry is cooked and the custard is just set. Do not leave them in the hot oven for an additional five minutes, as the residual heat may overcook the filling.
Allow the tarts to cool on a wire rack for about 10–15 minutes before carefully removing them from the molds.
They are particularly enjoyable while still warm.
A Few Tips From My Kitchen
Handling sticky pastry
The most frustrating problem I encountered when making Chinese puff pastry was the water dough tearing during rolling. Once the butter escaped, the dough became sticky, and adding more flour did not always solve the problem.
I learned that stopping and chilling the dough worked much better than trying to repair it while the butter continued to soften.
Finding the right firmness
One thing I noticed was that the pastry became difficult to roll when it was either too soft or too hard.
I used to chill the dough until it was slightly firmer than necessary, then let it soften briefly before rolling. The important thing is to keep the dough cool but pliable enough to roll without cracking.
Working in smaller portions
A large piece of laminated dough can be difficult to manage, particularly on a small kitchen counter.
If necessary, divide the water dough and oil dough into matching portions before enclosing them. Smaller packages are easier to roll evenly and return to the refrigerator.
Using leftover pastry
I reused pastry trimmings by stacking them gently and rolling them out again, rather than kneading the scraps into a ball.
For the best layer definition, chill the stacked trimmings if necessary before rolling. The layers may be less uniform than in the first batch, but the pastry can still be used.
Common Mistakes to Avoid
Water dough tearing
If the water dough breaks during folding, the oil dough can escape and make the surface greasy. Make sure the water dough has moderate elasticity, and avoid forcing it when it resists rolling.
Butter becoming too soft
Warm butter can spread unevenly and leak through the dough, especially in a warm kitchen. Return the pastry to the refrigerator whenever it becomes sticky.
Oil dough too hard
If the oil dough is too cold and firm, it may crack instead of spreading evenly between the layers. Let it soften slightly until pliable before rolling.
Stretching the shells
Pastry that is stretched tightly into the molds may shrink during baking. Cut the circles generously and fit them into the molds without pulling.
Air bubbles in the custard
Vigorous whisking can introduce air bubbles that remain on the surface. Mix gently, strain the custard, and let it rest before filling the pastry shells.
Custard rising too high
I noticed that the custard could swell into a dome and then sink after cooling. Excessive heat is one possible cause. I now use a constant 180°C instead of starting at 200°C. If the custard still rises too much, you may need to test a slightly lower temperature.
Underbaked pastry bottom
The custard may set before the pastry has finished baking. Placing the tray on a lower rack helps the base receive more heat. Check that both the pastry and custard are cooked before removing the tarts.
Variations
Shortcrust egg tarts. Hong Kong bakeries also sell egg tarts made with shortcrust pastry. These are easier to prepare, but the crumbly crust is quite different from the flaky, layered Chinese puff pastry used in this recipe.
Macau-style egg tarts. These are related to Portuguese pastel de nata and usually have a browned, caramelized custard surface. They require a different baking method, so simply changing the oven temperature in this recipe will not produce the same result.
More Dim Sum Recipes to Try
If you enjoy making Hong Kong-style egg tarts, you might also like these three Chinese dim sum recipes from my blog.
Char Siu Sou (Chinese BBQ Pork Puff) – A savory Chinese puff pastry with a flavorful filling. My version uses chicken instead of pork and an all-butter pastry. It is also a good way to use any leftover pastry from these egg tarts.
Har Gow (Shrimp Dumplings) – A popular Cantonese dim sum dish made with juicy shrimp wrapped in thin, translucent wrappers. I’ll show you how to prepare both the filling and wrappers from scratch.
Char Siu Bao (Steamed BBQ Buns) – Soft, fluffy steamed buns with a savory, slightly sweet filling. My version uses chicken instead of traditional barbecue pork, with step-by-step instructions for preparing the dough and filling.
Quick Takeaways
Making Hong Kong-style egg tarts from scratch takes time, especially when preparing the flaky Chinese puff pastry. However, much of that time is spent resting and chilling the dough.
If there is one thing I would emphasize, it is to be patient during lamination. Keep the dough cool, roll it gently, and let it rest whenever it becomes difficult to handle.
For the egg custard, mix gently to avoid introducing too much air, and watch the baking temperature carefully. You want a smooth filling that is just set, with a slight wobble in the center, rather than one that rises into a large dome.
Egg Tart Recipe With Chinese Puff Pastry
Chinese egg tarts ( 蛋挞 ) is one of the most popular Chinese dim sum. Try this traditional egg tart recipe.
Ingredients
A. Water Dough
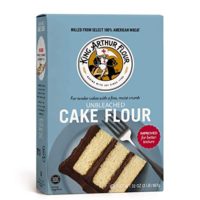
- 270 g all-purpose flour
- 60 g beaten egg
- ½ tsp salt
- 120 g ice-cold water
- 15 g milk powder
B. Oil Dough
- 270 g all-purpose flour
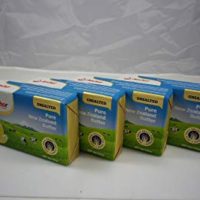
- 350 g unsalted butter, cool but pliable
C. Egg Custard Filling
- 220 g beaten whole egg
- 100 ml milk
- 225 ml water
- 80 g caster sugar
Instructions
- Prepare the water dough. Mix the flour, milk powder, salt, egg, and ice-cold water. Knead until smooth and moderately elastic. Cover and rest for 30 minutes.
- Prepare the oil dough. Combine the butter and flour until cohesive. Shape into an 18 × 18 cm square and refrigerate until cool but pliable.
- Enclose the oil dough. Roll the water dough into a 27 × 27 cm square. Place the oil dough diagonally in the center, fold the corners over it, and seal.
- First three-fold. Roll into a rectangle and fold into thirds like a letter. Refrigerate for 20–30 minutes.
- Second three-fold. Rotate 90 degrees, roll out, and repeat the letter fold. Refrigerate for another 20–30 minutes.
- Final four-fold. Rotate, roll into a rectangle, fold both ends toward the center, then fold in half like a book. Refrigerate for at least 30 minutes.
- Shape the shells. Roll the pastry to 3 mm thick. Cut 11–12 cm circles, fit gently into the egg tart molds, and trim. Refrigerate for 15–20 minutes.
- Prepare the custard. Heat the sugar and water until dissolved, then cool completely. Gently mix with the eggs and milk. Strain twice and rest for 10–15 minutes.
- Fill the shells. Pour the custard into the chilled, unbaked pastry shells until 70–80% full.
- Bake. Bake on a lower rack at 180°C (356°F), without the fan, for 25–35 minutes. Remove when the pastry is golden and the custard is just set with a slight wobble.
- Cool and serve. Rest on a wire rack for 10–15 minutes before removing from the molds. Best enjoyed warm.
Notes
The video was recorded using my original egg tart recipe. I have since updated the ingredients and refined some of the preparation methods in this article. Therefore, you may notice a few differences between the video and the written recipe.
For the latest version, please follow the ingredients and instructions in the recipe card above. I may record a new video in the future to reflect these changes.
Recommended Products
As an Amazon Associate and member of other affiliate programs, I earn from qualifying purchases.

Nutrition Information:
Yield: 12 Serving Size: 1Amount Per Serving:Calories: 406Total Fat: 24gSaturated Fat: 14gTrans Fat: 1gUnsaturated Fat: 8gCholesterol: 159mgSodium: 302mgCarbohydrates: 39gFiber: 1gSugar: 8gProtein: 8g
This data was provided and calculated by Nutritionix on 1/19/2019
Hi KP,
I’M sorry to bother you again. But do I skip to step 6 or I go to step 5.
And do you know of a way that we can make this without a food processor.
Thank you,
Francid
Hi Francid,
You can mix the oil dough with a metal spoon if you opt not to use an electric food processor. It does not need to be well mixed. For the water dough, you can knead it by hand just like making bread.
I’m very confused as to how to make the oil dough. If it is wet and oily how do I roll It into a ball. (Much less knead it.) I can’t watch the video as I am in china and youtube is blocked
Dear Francid,
I get your questions, and I am trying to explain as clear as possible. I can understand how difficult it is to visualize how to do it without the access to my YouTube video in China. Nevertheless, here is my answer.
The oil dough is sticky. After you mix it in the electric mixer, use a metal spoon to remove it from the mixer bowl, and place it straight on top of the water dough. The instruction in the recipe is confusing because I mention ‘knead’ which is incorrect. It is like scooping out soft ice cream. I normally use two metal spoons to do it. One spoon to scoop the oil dough, and the other one to remove the oil dough on the first spoon. You will not be able to remove all from the mixer bowl as it is sticky. It is OK.
Thanks for letting me know the confusion, and I have made the necessary correction in the recipe.
Best regards,
KP Kwan
Dear KP,
I forgot to tell you that I blind bake first my tart shells before adding the egg custard. I blind baked the shells until already crisp enough. After that I continue baked with the egg custard.
I had already tried not blind bake first the tart shells, but the pastry was always not crisp enough(still raw) meanwhile the egg filling already puff up so high. So i decided to blind baked first the shells.
My egg filling recipe :
2 egg yolks
150 ml milk
40 grams sugar
1/2 teaspoon vanilla extract
Thanks for your advice!
Dear Ferris,
I follow your recipes and replicate it, and this is the result. (see image)
After looking at your recipe, I find that there is a difference from mine.
In my recipe, the amount of egg (5 eggs or 245g) is roughly equal to the liquid (80ml milk + 165 ml water= 245ml).
In your recipe, the amount of egg (2 egg yolk is about 32g) is not equal to the amount of liquid (150ml milk). By calculation, it is one part egg and 4 1/2 part liquid.
The liquid may be too much, and the eggs are not able to hold the custard together and cause the breakage, crack, and shrinkage. Try to reduce the milk or increase the egg to see if it works.
Hope this helps.
KP Kwan
Hi KP.
Great recipe and tutorial!
I wanna ask why my eggtart filling always cracked after several hours of baking. The hole of the cracked is always getting bigger and bigger as time goes by. Why this is happen? And how do I solve this problem?
Many thanks!
Hi Ferris,
There is a common reason- overcooking and overheating. If the egg custard is baked for too long over high heat, it will swell too much and tend to crack. Try to shorten the time of baking or reduce the temperature a little.
Hi KP.
Thanks for your advice. I have tried before to reduce the temperature to around 150 C ~ 175 C. I noticed that it took very long time to the custard to set. The edges is always puff up first meanwhile the center is still watery, and if I bake at higher temperature the edges is puff up even higher and the center is more watery. I tried to open the oven door if this happen so the edges is not puff up too much, and wait to the center until slightly woobly. But the result is always the same. It cracked and even cracked more when completely cooled after several hours. And also it always shrinked down at the center.
What can I do to solve this? I want the look of my egg tart beautiful like yours even had been stored for hours.
Thank you so much !
Really look forward for your advice.
Dear Ferris,
It seems the problem is not due to overheating or high temperature. In fact, the temperature of 150 to 175 degree Celcius seems too low to enable the pastry to fluff up completely.
Is the problem happened by using the custard formula of my recipe or another one? If it is from other recipes, maybe you can let me know, and I’ll try to help out.
Would it be possible to make one large egg tart instead of several smaller ones? I assume the baking times would be different.
Never attempt to make sumo size egg tarts. I think there will be two small differences:
1. As you said, longer baking time.
2. Since the larger one will hold more egg liquid, the base of the tart crust may compress too much by the weight of the egg liquid. It may not be fluffy as expected. It is possible to bake the empty pastry without the egg until it is nearly cooked, then fill the egg liquid and continue baking.
As I mention I never try this way so if you ever make the Big Mac size egg tarts, please let me know 🙂 .