Gyoza is unique. Why?
Because gyoza requires both pan-frying and steaming techniques to cook. There is only a handful of food prepared in this way.
It may sound tricky, but this article will bust the myth of how difficult it is and show you how to make it by breaking it down into four simple steps.
Interested? I have the recipe for you.
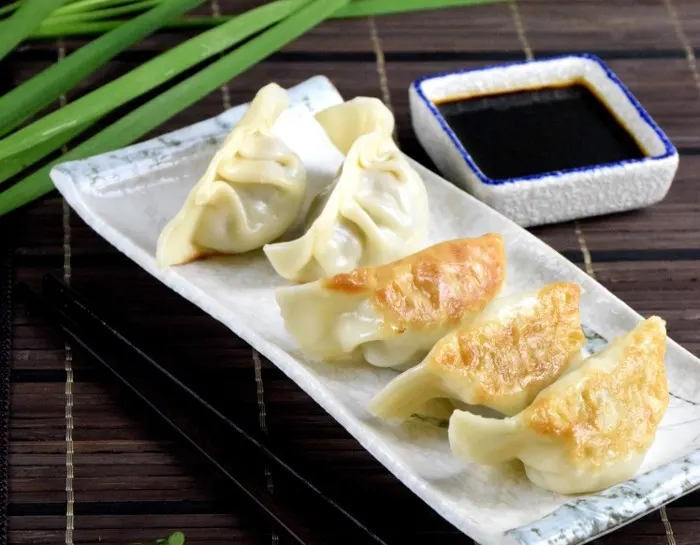
Gyoza is the Japanese version of guotie 锅贴, a delicacy famous In Northern China. However, it is relatively smaller than guotie and encased with finely minced meat and cabbage. The flavor is more garlicky, with more vegetables, the wrapper is thinner and more crispy when served. I like the dipping sauce of guotie, which is partly sour and salty. The Japanese version is similar but uses Japanese soy sauce and chili oil.
It can be a stand-alone main dish, or as the sides for ramen. You may eat it fresh from the pan, or dunk into a sauce comprises soy sauce, vinegar and chili oil for the extra flavor.
Note: This post may contain affiliate links. Please read my private policy for more info. I may receive commissions for purchases made through links in this post.
I grew up eating Cantonese style wonton as a kid. Occasionally we visited the dim sum restaurants, having Har Gow (prawn dumplings) and shumai (open-ended meat dumplings). These are the closest snacks that resemble gyoza I can think of.
I have no idea what is gyoza until I started to explore various types of food after completing college. Now I prefer the gyoza than guotie especially those fresh from the pan, which is still crispy on one side and soft and plum on the other. The semi-transparent skin reviews the stuffing underneath which can get me salivating before even eating it.
You can keep frozen gyoza for a month or two. You can make a larger batch, portion it and store in separate containers to satisfy for palate whenever you have the urge to take a bite. (There is a section on how to keep the gyoza in this article).
Step one -Preparing the filling.
Here are the steps to make the standard gyoza. I will cover every tricks and technique I picked up to ensure you to have the full grasp of the entire process.
Choose the meat with some fat.
Pork is the popular choice for making gyoza. Chicken and beef are also suitable for making gyoza as the flavor match perfectly the Napa cabbage.
You can get the store bought minced pork to save the time of mincing. Check the meat if it contains a certain amount of fat, which is good.
If you can get the fresh pork, choose one which has three-quarter lean and one-quarter fat. Remove the skin if there is, and minced it finely. Do the same for beef if that is your choice. The fat help to tenderize the filling so you won’t feel like chewing a dry out meatball. If you use chicken breast, add a small amount of finely chopped chicken skin so that it will turn out more tender.
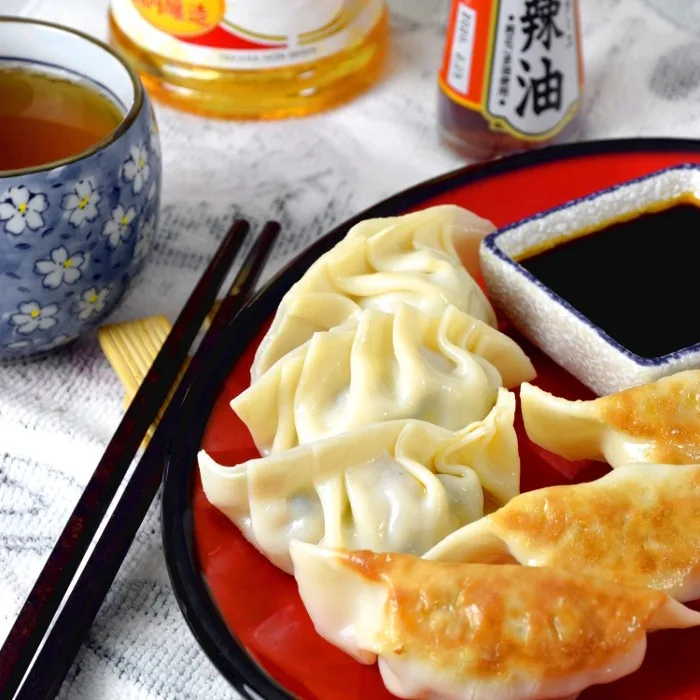
Squeeze out as much water from the cabbage as you can
Cabbage is the second most essential ingredients for making gyoza. Use the Napa cabbage which has an elongated shape.
Napa cabbage is the Japanese name of the Chinese cabbage which is called 大白菜 or 黃芽白. If this is not available, the regular round cabbage is an ideal substitute.
Dumplings make with meat alone is tough and rubbery as the meat protein tends to bind tightly to each other. The cabbage helps to breaks up the meat so that it is soft and light.
I use an equal part of cabbage and pork in this recipe. Remove the core. Cut the cabbage into fine strips and then coarsely mince it. You can also shred the cabbage with the food processor, much like making coleslaw.
Add some salt to the cabbage, mix well and let it sits for about 15 minutes.
The salt will draw out the moisture from the cabbage by osmosis and make the cabbage drier. Napa cabbage contains plenty of moisture, which will release during cooking and cause the dumpling mushy and wet if you skip this moisture-removing step!
Place a piece of kitchen towel on a large bowl and place the shredded cabbage in it. Hold up the four corners of the towel and wrap up the cabbage. Squeeze out as much liquid as you can from the cabbage. You should squeeze until there is NO MORE water being forced out from the cabbage. This step will make sure the cabbage is dry enough to make a well-formed filling, not a mushy paste.
The flavoring agents:: Garlic, ginger, and chives
Garlic, ginger and Chinese chives (韭菜 Chinese chives/garlic chives, Nira in Japanese) are the standard flavoring agents for gyoza. I have some minced garlic and ginger from the kitchen which makes my works simpler. Otherwise, mashed a few cloves of garlic and smash a few pieces of ginger and give them a quick mince.
Mince the chives coarsely, and it is ready to mix with the meat. You can use scallions to substitute chives if you do not like the taste. However, Chinese chives are always the preferred choice over scallion for its authentic flavor.
Season the meat and cabbage
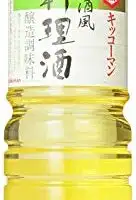
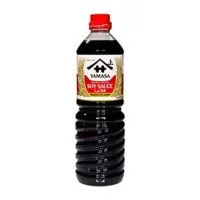
Japanese soy sauce, sake, salt, ground white pepper, and sugar are the standards combination. You may include some oyster sauce into the list, which I like. By the end of the steaming process, you can also drizzle some sesame oil onto the gyozas right before removing them for serving. We add the sesame oil last because it will lose it flavor after prolonged cooking.
Cornflour as the binding agent
You may want to add some cornflour to the filling to bind all the ingredients. It is a good idea if the mixture is too wet. Nevertheless, it is not necessary if you have drawn out as much water as you can from the cabbage.
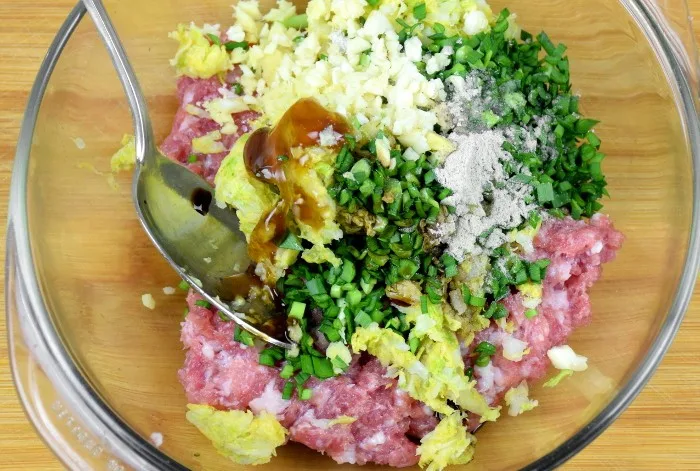
Mix everything up (and smash it)
Combine the minced meat, cabbage, the seasoning and the flavoring agent. Scoop up the filling from the bowl and smash it back onto the bowl repeatedly.
This technique will increase the springiness of the filling and at the same tenderize the meat. Eventually, the mixture will stick together like a ball. It may take a few minutes with multiple smashing!
If you do not want to use the smashing technique, keep kneading the mixture until all the ingredients are stick together. This action helps to cross-link the protein of the meat to form a structure that holds juices as well as creating a more springy texture. The same technique is also used by the traditional Chinese hawkers to make springy fish balls and meatballs.
Chill the filling for 30 minutes before stuffing and folding the dumplings if it is too soft. The chilled filling is firmer and easier to handle.
Step two- How to wrap, fold and pleat the gyoza
Use the store bought gyoza skin.
Nowadays most of the restaurant are using store bought, ready to fill gyoza wrappers. You can use it at home to make your dumplings. These wrappers are slightly thinner than the guotie wrapper, and a little smaller. It comes in a pre-cut round shape, so it is very convenient to use them. You can use the Chinese wonton wrappers as the substitute if it is unavailable.
How to wrap the gyoza
Place a piece of the gyoza wrapper on your palm.
Spread the filling on the wrapper. Make sure to leave sufficient space at the side for wrapping. The amount should not be too much, as you need a clean edge of the wrapper to seal it properly.
Press the filling onto the wrapper, instead of forming a ball and put it at the center. By doing this way, the filling will stick on and will not move around during sealing.
Moisten the side of the wrapper with your wet finger. The wetted part of the wrapper will stick together when you pleat and fold both sides together.
Pleat the gyoza along one side. You should be able to make about 5 to 8 pleats for the standard size gyoza. The gyoza will form a crescent naturally after crimping and pleating. Please refer to the video in this article for the demonstration of the folding method.
Note: You can use the gyoza mold to form the dumpling if you have difficulty to wrap them properly.
Step three- fried, steam and fried again.
There are two steps of cooking involved- pan-fried and steaming.
Pan-frying
Add a small amount of vegetable oil in a flat pan.
Arrange the gyoza, flat bottom side down on the pan and pan-fry over medium heat.
If you use the frozen dumplings, let it soften at room temperature for a while before frying them. Otherwise, the frozen dumplings may not sit steadily on the pan with the flat side down and tumble.
The goal is to crisp the bottom side that stick to the pan. You need to pick up the gyoza to check the color and stop pan-frying once they turned golden brown. The color can turn quite fast if you use higher heat and running the risk of browning it too much.
This pan-frying process takes about two minutes, depends on the actual heat and the type of material of the pan you use. Some chefs suggest to swirl them around instead of letting each gyoza sits and stick to the pan. This method will yield a more evenly brown and crispier bottom. A more practical way is to use a non-stick pan to avoid the dumplings from sticking.
Steaming
The second phase of cooking is to steam the dumplings.
Once the gyozas turn golden brown, fill up the pan with some hot water, about half of the height of the gyozas. (Be careful as the oil may splatter at this point of time.) Cover the pan with the lid immediately.
The purpose of pan-frying is to form the crispy bottom, and steaming is to cook through the fillings and soften the wrapper so that it becomes more stretchable and tender.
Move around the dumpling from time to time to prevent them from sticking to the pan, and promote even cooking.
Steam over medium heat for about 3-4 minutes or until the water is about to dry up.
Open the lid and keep the heat low. Wait until the water evaporates completely. At this point, add some sesame oil to the top of the gyozas.
Keep moving the dumpling in the pan to prevent them from sticking, and to form a crispy bottom.
Note: A teppanyaki chef told me that his secret of making flavorful gyoza is to steam the dumplings with chicken stock instead of water. Use chicken stock if you have it on hand if not water is just fine.
Step four: Preparing the dipping sauce
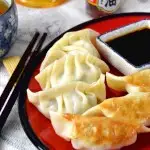
Gyoza is best to serve immediately while still crispy, by dipping into a mixture of soy sauce and vinegar. If you like it hot, add some Japanese chili oil to it.
Serve these plump dumplings with the crisp side up. This way of presentation is not only attractive but also ensure the steam release from the hot gyoza evaporates quickly and will not soften the crisp surface.
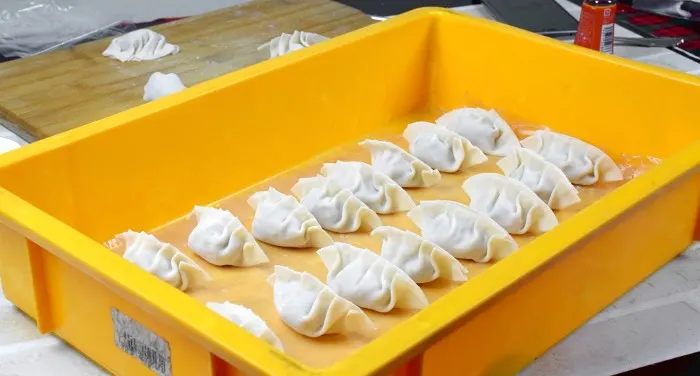
Bonus: How to store the uncooked gyoza
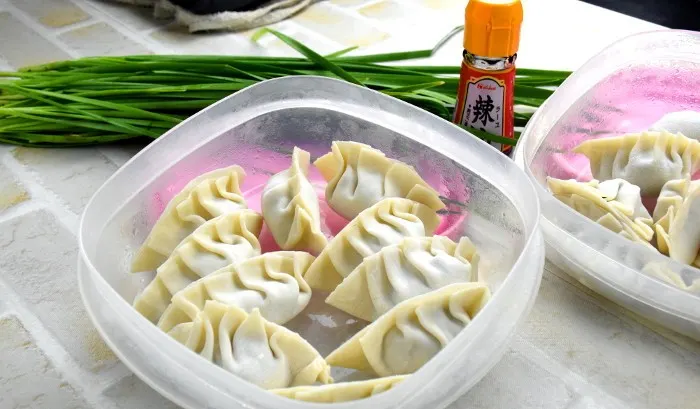
You can keep the uncooked gyoza for up to one to two months in the freezer without noticeable deterioration of flavor and texture. Therefore, it is advantageous to make a larger batch of gyoza and keep it for later use.
Here are the steps:
- Line a large plastic tray with a plastic sheet (or cling film). Arrange the uncooked gyoza in a row, make sure they do not touch each other.
- Put the whole tray of gyoza in the freezer, uncovered.
- When the gyozas are thoroughly frozen, transfer them to an airtight plastic container or a ziplock bag. Keep frozen for later use.
The Gyoza 餃子(ぎょうざ) Recipe
Gyoza is the Japanese version of guotie 锅贴, a delicacy famous In Northern China. However, it is relatively smaller than guotie and encased with finely minced meat and cabbage.
Ingredients
For the Dumplings:
- 200 g finely minced Napa cabbage, about 1/2 a medium head
- 1 tsp Sesame oil
- 1 tsp light soy sauce
- 1 tsp sake
- 2 tsp salt, (add to the cabbage and squeeze)
- 250 g ground pork
- 1/2 teaspoon ground white pepper
- 2 tsp Oyster sauce
- 1/2 tablespoon minced garlic
- 1/2 teaspoon minced ginger
- 30 g minced scallions, about 3 whole scallions
- 1 teaspoons sugar
- 1 package dumpling wrappers
- 1 tablespoons Vegetable oil
For the Sauce:
- 20 ml rice vinegar
- 20 ml light soy sauce
- 5 ml tablespoons chili oil, optional
Instructions
Preparing the filling
- MInced the pork.
- Cut the cabbage into fine strips and then coarsely mince it. Squeeze out as much water from the cabbage as you can. Add some salt to the cabbage, mix well and let it sits for about 15 minutes. Squeeze out as much liquid as you can from the cabbage. The flavoring
- Mince the chives coarsely.
- Combine the garlic, ginger, Chinese chives, Japanese soy sauce, sake, ground white pepper, and sugar, oyster sauce with the pork and cabbage.
- Scoop up the filling from the bowl and smash it back onto the bowl repeatedly until the ingredients stick together to form a ball.
Wrapping the dumpling
- Place a piece of the gyoza wrapper on your palm.
- Spread the filling on the wrapper.
- Moisten the side of the wrapper with your wet finger.
- Plead the gyoza along one side.
- The gyoza will form a crescent naturally after crimping and pleading.
Fried, steam and fried again.
- There are two steps of cooking involved- pan-fried and steaming.
- Pan-frying
- Add a small amount of vegetable oil in a flat pan.
- Arrange the gyoza, flat bottom side down on the pan and pan-fry over medium heat. Until golden brown.
- Fill up the pan with some hot water, about half of the height of the gyozas. Steam over medium heat for about 3-4 minutes or until the liquid is about to dry up. Drizzle some
- sesame oil onto the gyozas.
Preparing the dipping sauce
- Mix the Japanese soy sauce, vinegar, and chili oil.
Recommended Products
As an Amazon Associate and member of other affiliate programs, I earn from qualifying purchases.
Nutrition Information:
Yield: 25 Serving Size: 25 dumplingsAmount Per Serving: Calories: 46Total Fat: 3gSaturated Fat: 1gTrans Fat: 0gUnsaturated Fat: 2gCholesterol: 9mgSodium: 292mgCarbohydrates: 1gFiber: 0gSugar: 0gProtein: 3g
This data was provided and calculated by Nutritionix on 5/22/2019

Char Kuey Teow recipe- How to cook the authentic Penang fried noodles (炒粿条)
Saturday 8th of September 2018
[…] as both have a different taste and smell. Chinese chive is widely used in Asian cuisine. The Japanese gyoza and the Chinese guotie are dumplings made with plenty of Chinese […]
KP Kwan
Sunday 1st of July 2018
Hi, this is KP Kwan. I am happy to see you in this comment area, as you have read through my recipe. I am glad to reply any questions and comments as soon as possible.