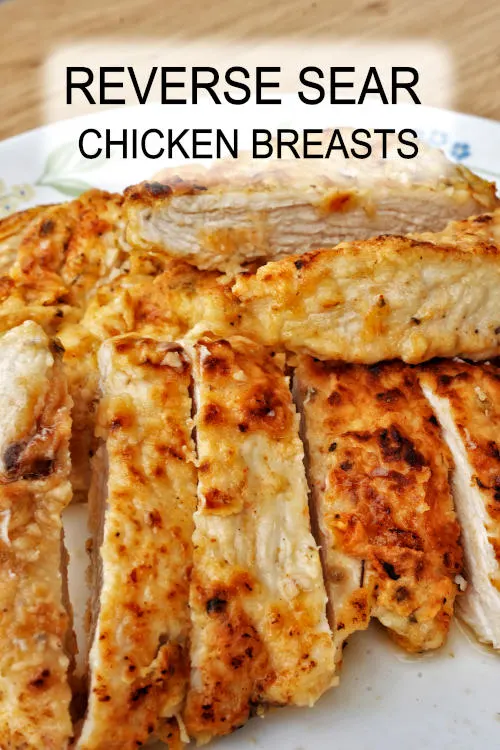
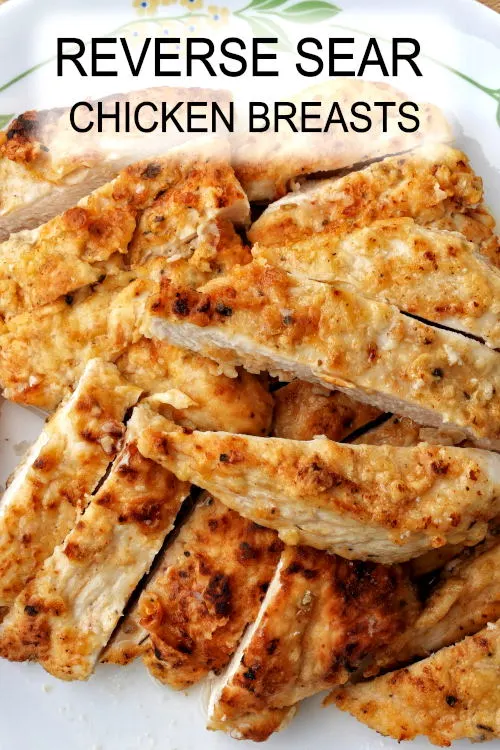
My family devours my reverse sear chicken breast in record time! This recipe is a keeper, and I am happy to share it with you.
I understand that chicken breasts tend to become tough if overcooked. Therefore, I’ve experimented with various methods to make them tender and succulent, including coating them with flour and breadcrumbs and pan-frying them. While this approach yields excellent results, I ran out of breadcrumbs today and decided to try the reverse sear method to cook the chicken instead.
I seared the chicken’s surface on a hot pan until golden brown, then set a lower temperature to finish cooking them in the oven. I also took a step further by brining the chicken breasts in salt water for 90 minutes before searing, resulting incredibly tender meat that surpassed my expectations.
Let’s delve into how to prepare this delicious dish right now.

Note: This post may contain affiliate links. Please read my privacy policy for more info. I may receive commissions for purchases made through links in this post. As an Amazon Associate, I earn from qualifying purchases.
Note: The reverse sear process involves cooking the meat at low heat in the oven to achieve perfection. Subsequently, it is seared in a cast-iron skillet to create a crispy crust. However, in this case, since the chicken has been coated with egg and flour, it is more convenient to sear it on the stovetop, followed by completing the cooking process in the oven at low heat. Therefore, it differs from the conventional reverse sear method, despite utilizing both the oven and stovetop, although I still use the word “reverse sear’.
1. Brine the chicken breasts
Although brining chicken is optional, the outcome is so delightful that it is worth the time and effort. My brine is a super basic salt solution. I make just enough brine to cover the chicken to avoid wasting the salt I use.
Here are the simple steps I follow:
- First, add 4g of salt to every 100 ml of water, giving a salt-to-water ratio of 4:100. You can calculate the salt and water you need based on this ratio for the number of breasts you have.
- Warm the salt solution in the microwave to dissolve the salt. Let the solution cool down, then immerse the chicken breasts in the brine for 90 minutes.
- Remove the chicken after 90 minutes.
This concentration of salt, coupled with 90 minutes of brining, will produce the perfect level of saltiness. During the brining process, the chicken absorbs the saltwater solution, which assists in keeping the chicken breasts from turning dry during cooking.
2. Pound the chicken with a meat mallet or knife
I thoroughly wipe the chicken breasts with a dry kitchen towel. This ensures the surface is dry, which helps to sear effectively during the next step.
Then, I use the spine of a cleaver to pound the chicken breasts as I do not have a meat mallet. The pounding will break down the tissue, making it tender and soft. Besides, I also butterfly the thicker portions of the chicken breasts to ensure they are of even thickness and cook evenly throughout the process.
3. Season the chicken with a dry rub
I use common pantry items to season the chicken breasts, which include black pepper, Cajun seasoning, Italian seasoning, and olive oil. I also added some finely minced ginger and garlic to enhance the flavor. As the rub does not contain salt, I can adjust the amount of seasoning to my preferences.
Note:
- Minced garlic can be easily prepared using a garlic press, and ginger juice is a good substitute for minced ginger.
- There are endless seasoning options beyond what I use. The crucial part of this recipe is the preparation method, which combines brining, pounding, searing, and roasting.

4. Sear the chicken over high heat
I dip each seasoned chicken into beaten eggs, then coat them with flour before searing them in a hot pan. This step helps to protect the meat from the drying effect of the direct heat and creates more flavor by a browning effect. It is unnecessary to fully cook the meat as I will complete the cooking process in the oven.
5. Finished the cooking in the oven
The final step of the cooking process is to cook it in the oven. First, I preheat the oven temperature to 150°C/300°F with the fan on.
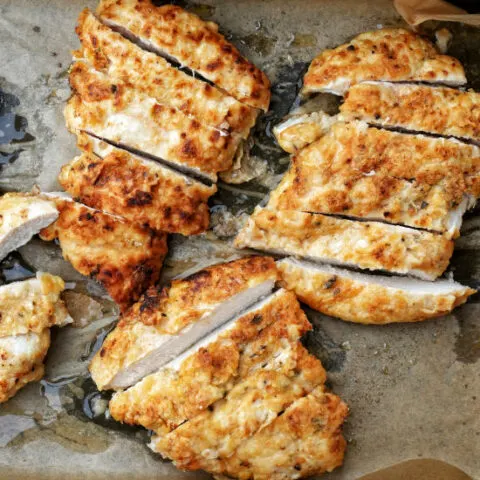
Then I placed the chicken breasts on a roasting pan to roast them until fully cooked.
It is unnecessary to use a high temperature as the surface has been seared. Instead, the goal is to ensure the internal temperature of the chicken breasts reaches 74°C. A kitchen thermometer comes in handy to check the temperature.
It is important to remove the chicken immediately once they are fully cooked. The chicken breast will turn dry if you continue cooking the chicken.
Let the chicken rest for five minutes, allowing the juices to redistribute within the meat. Then, cut them into large pieces for serving. The reverse sear chicken breast is so flavorful and tender that they don’t need any additional sauce to enhance its taste.
Other chicken dishes related to this reverse sear chicken breast recipe
If you enjoyed this boneless skinless chicken breast recipe, you might want to explore other chicken recipes on this blog. Here are my top picks:
- Chicken katsudon is a delightful Japanese rice bowl dish with torikatsu, sweet onions, and beaten egg. It is a perfect quick, and easy one-pot meal that you can enjoy.
- Thai basil chicken has a rich and savory flavor. It is delightful because the ingredients create a harmonious balance of contrasting flavors.
- Can you imagine the flavor of a can of Coca-Cola concentrated into only a few tablespoons? Well, that’s precisely what you can expect from Coca-Cola chicken – an unconventional recipe worth trying!

Reverse sear chicken breast
Tired of dry and flavorless chicken breast? Reverse sear is the answer! Follow these simple steps to make your chicken juicy and delicious.
Ingredients
- 500g chicken breast
- 10g salt
- 300ml water (to make brine solution with salt)
- 1 egg
- Flour to coat the chicken
- 1/2 tsp Cajun seasoning
- 1/2 tsp Italian seasoning
- 1 tsp minced garlic
- 1 tsp minced ginger
- 2 tsp olive oil
Instructions
- Add 4g of salt to ml of water to make a brine solution.
- Warm the salt solution in the microwave to dissolve the salt.
- Let the solution cool down, then immerse the chicken breasts in the brine for 90 minutes.
- Remove the chicken after 90 minutes.
- Wipe the chicken breasts with a dry kitchen towel. Then, I use the spine of a cleaver to pound the chicken breasts as I do not have a meat mallet. Butterfly the thicker portion of the chicken breast if it is too thick.
- Season with Cajun seasoning, Italian seasoning, minced garlic, minced ginger, and olive oil.
- Coat the chicken with beaten eggs, then with flour.
- Sear the chicken with medium to high heat in a pan until golden brown.
- Preheat the oven temperature to 150°C/300°F with the fan on.
- Roast the chicken on a roasting pan until fully cooked, about 20 minutes.
- Let the chicken rest for five minutes, then cut them into large pieces for serving.
Recommended Products
As an Amazon Associate and member of other affiliate programs, I earn from qualifying purchases.
Nutrition Information:
Yield: 3 Serving Size: 1Amount Per Serving: Calories: 542Total Fat: 15gSaturated Fat: 4gTrans Fat: 0gUnsaturated Fat: 9gCholesterol: 230mgSodium: 1644mgCarbohydrates: 33gFiber: 1gSugar: 0gProtein: 65g
This data was provided and calculated by Nutritionix on 18/5/2023


MrSuaveh
Saturday 4th of January 2025
Hold it…reverse sear is baking the meat first to a desired internal temperature then quickly searing. The idea is to heat the meat close to the temperature you want then sear for flavor and eliminates overcooking.
Terry
Friday 19th of May 2023
I have 2 questions. Can I still sear the chicken without the egg and flour? I don't care for the egg and flouring it. I sear my chicken without the egg and flour and it still turns out fine. My chicken does get the grill effect. I believe your instructions in the recipe card is out of order starting from #5 and #6. In #4 after you finish the brine, then you Pound the chicken #6, then season the chicken #5 is next. Correct?
KP Kwan
Friday 19th of May 2023
Thanks for bringing the incorrect order of instructions to my attention. I have rectified it.
soo twek kin
Thursday 18th of May 2023
Reverse sear chicken breast. can i use air fryer to roast the chicken breast.
KP Kwan
Friday 19th of May 2023
I haven't attempted this recipe using the air fryer yet. As a general view, it may not be as good as searing in a pan.
KP Kwan
Thursday 18th of May 2023
Hi, this is KP Kwan. I am happy to see you in this comment area, as you have read through my recipe. I am glad to reply to any questions and comments as soon as possible.